Our new Project Resource Scheduling features allow you to better allocate your team resources, visualize timelines, and efficiently deliver projects. This module allows making more intelligent resourcing decisions, so your team can be more efficiently allocated and your projects are delivered faster at a lower cost.
Before you get started with Resource Scheduling, here are a few settings you should take a look at.
Managing Resource Scheduling Settings
Admin users can navigate to our new Settings > Scheduling Settings page to manage default availability, create project categories, user tags, and manage leave types and public holidays.

1. Default Availability
Our users come from over 150 countries, with many employing part-time contractors and freelancers, so we understand the need for flexibility while setting up team availability.

You can alter the First Day of the Week, as well as setup the Default Working Hours per Day you need as a starting point for your team members. Adjust these hours for each team member on the Contacts > Team Members page.
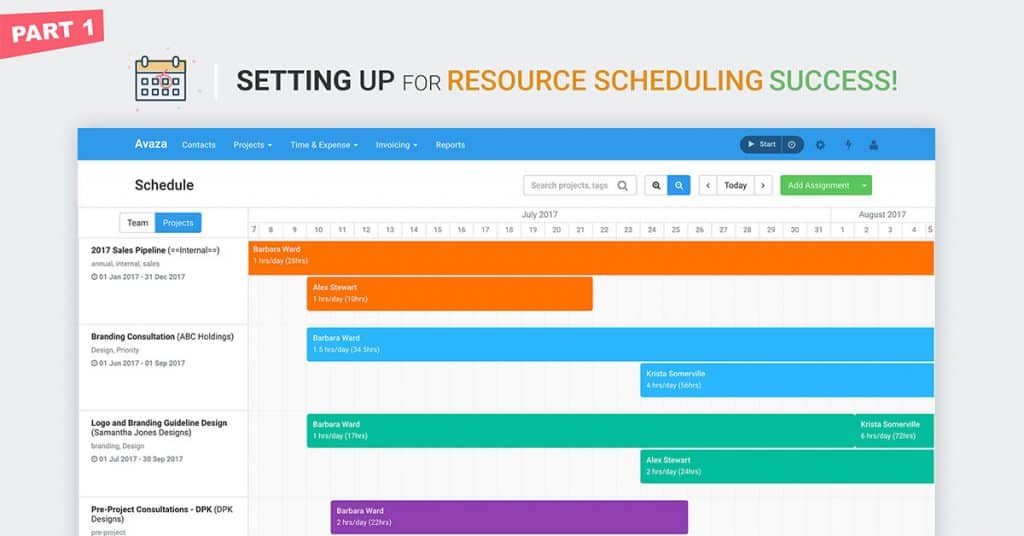
2. Project Categories
The Project Category you assign to each project not only visually differentiates between project types on the schedule (by using colors) but is also a searchable field when browsing All Projects.

Create an account-level Project Category list, and assign different colors to help you visually differentiate when viewing multiple projects on the Team Schedule page.
You can go to Project Settings for any project to assign Project Categories to it.
3. User Tags
User tags are useful for storing people’s skills, location, department, job title and more.
You can instantly find appropriate people to assign projects to, for example, by searching “Photoshop Sydney” to see all people with Photoshop skills in Sydney. Searching/filtering by Tags is available when browsing Contacts and the Team Schedule.

Manage and create user tags as needed by your business, and assign them to users on the Contacts page.
4. Leave Types
Manage the different leave types available when scheduling team members for leave.

5. Public Holidays
Create public holidays for all your team members as needed. These are visually displayed on the Team Schedule page and prevent you from scheduling resources on these dates. When booking an assignment you can override and schedule on holidays & other non-working days if needed.

Required User Roles & Settings
You can assign team members the appropriate roles needed for Resource Scheduling, manage availability and user tags on the new Contacts page.

Define the number of hours each team member is available for every day of the week, assign user tags, and assign the Scheduling User or Scheduling Manager role to your team members as needed.
Each plan has 1 free Scheduling User. To add more Scheduling Users ($7 USD per scheduling user/month), head over to Settings > Avaza Subscription > Manage Add-Ons. You can add unlimited Scheduling Managers at no extra cost.
Part II of our Resource Scheduling series talks about creating & managing a team schedule. Part III details the link between timesheets and resource scheduling, and Part IV details the task integration.