We’re quite excited to announce a new payment option for our users – Payoneer! Payoneer is available in over 150 countries across the world, and you can easily withdraw your Payoneer payments to a local bank, or via any ATM using the Payoneer MasterCard.
Enable Payoneer as a payment method on your Avaza Invoices, and get paid faster for your work, no matter where you are. Payoneer currently supports payments in GBP, USD, and EUR.
Configuring Payoneer
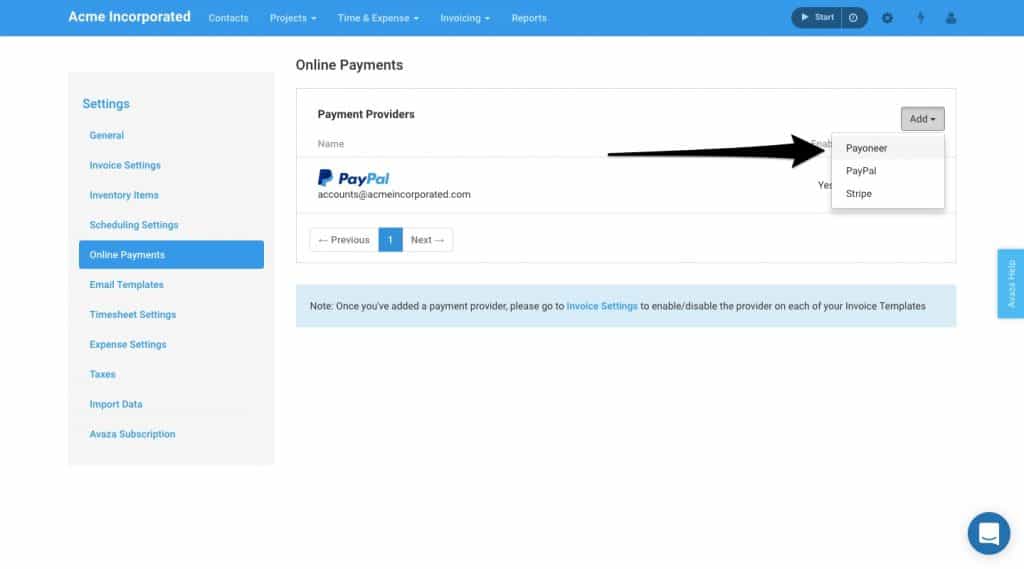
Navigate to Settings > Online Payments to add Payoneer as a payment option.
Click Connect to Payoneer on the popup.
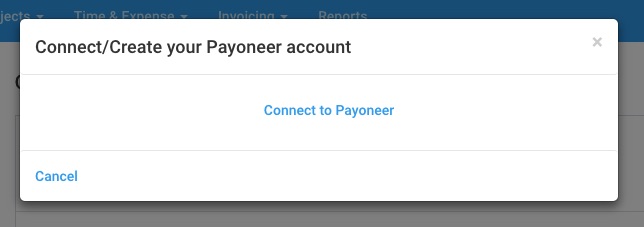
Figure: Connect your Payoneer Account
Follow the steps below if you have a Payoneer account, otherwise skip this section and jump directly to the “I do not have a Payoneer account” section.
1. I already have a Payoneer Account
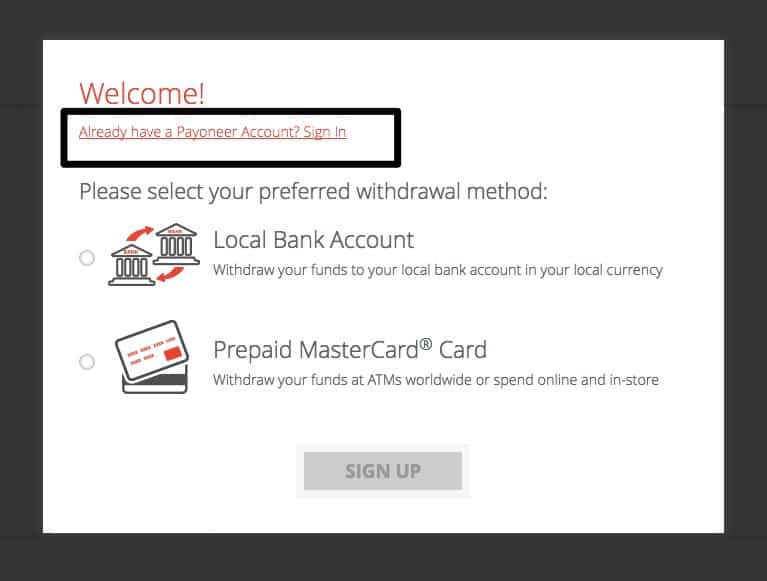
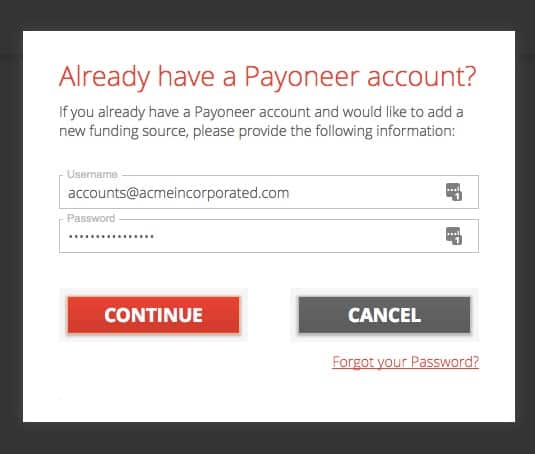
Are you already a Payoneer user? Click on “Already Have a Payoneer Account? Sign In”.
Enter your Username and Password and click Continue.
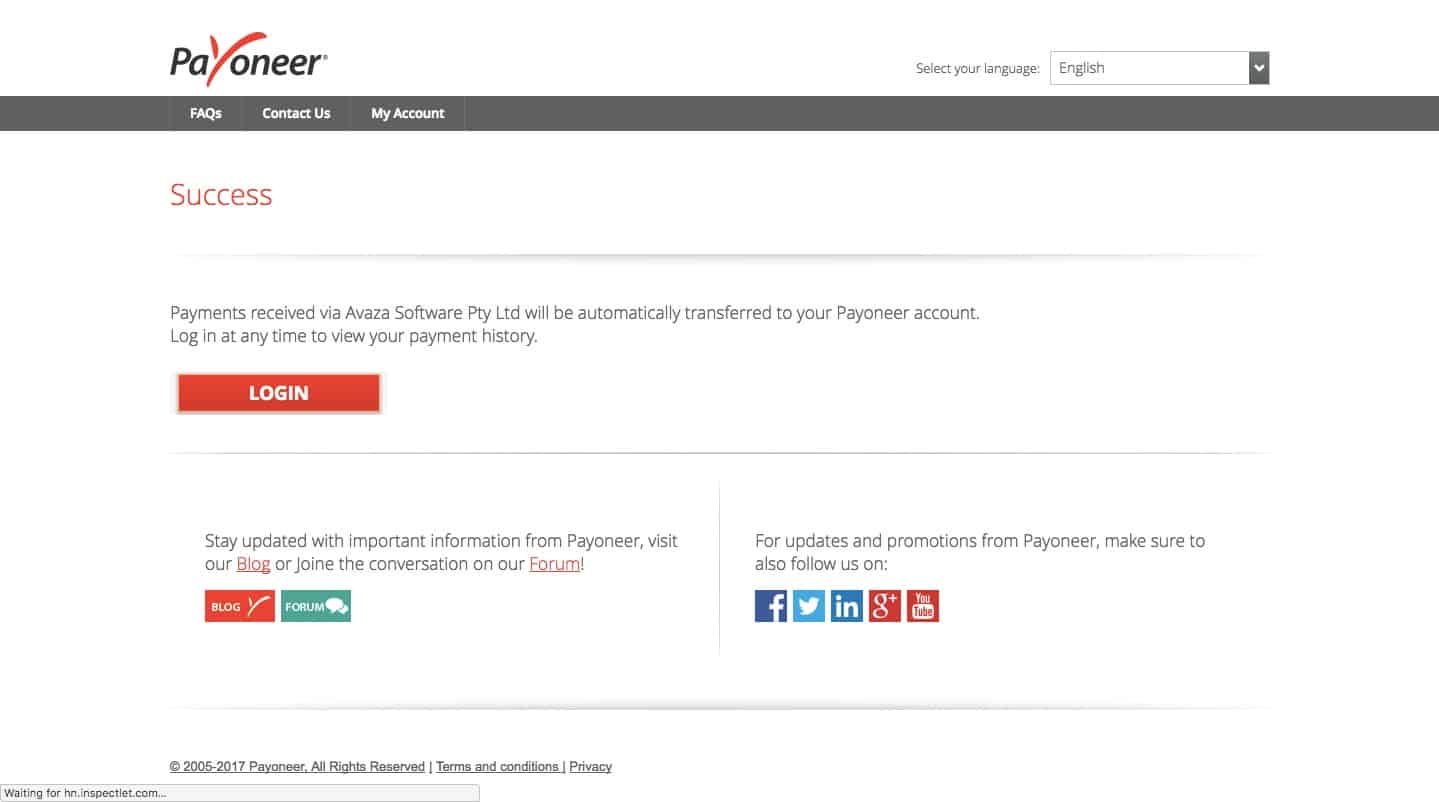
Once Payoneer has verified your account, you will see a “Success” screen, and be redirected back to the Online Payments page in Avaza.
2. I do not have a Payoneer account
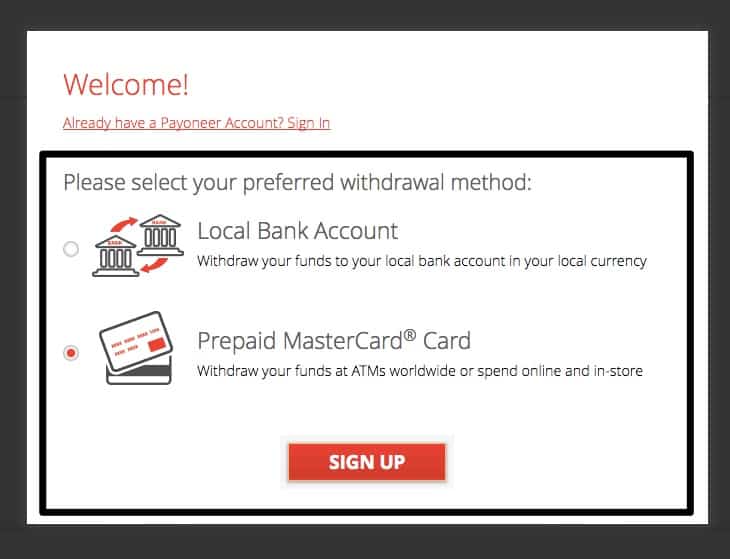
You can easily sign up for a new Payoneer account. Choose your preferred withdrawal method, and click Sign Up.
Enter your personal information on the next few screens to create your Payoneer account.
You will need to provide:
- First & Last Name
- Email Address
- Date of Birth
- Address
- Phone Number
- Setup security information, such as password
- Verify your ID with government issued ID
Once you have submitted your application, you will see a confirmation screen, and then redirected back to Avaza.
It can take several business days for your application to be reviewed. Once reviewed you will receive an email confirmation with further details.
How do you Enable Payoneer Payments for Invoice Templates?
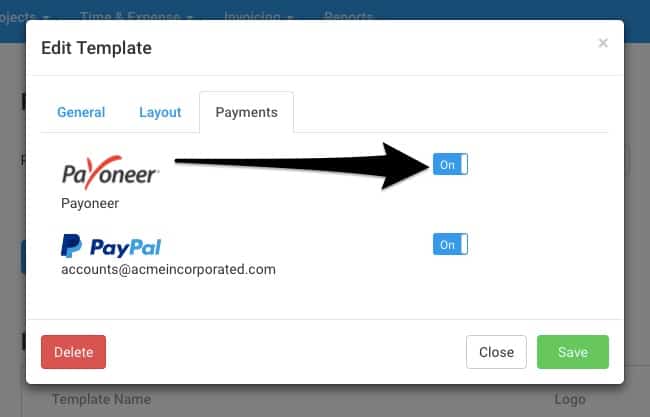
You can selectively enable/disable Payoneer on your invoice templates. Go to Settings > Invoice Settings to do this.
Scroll down the page until you see the “Invoice/Estimates Templates” section. Click on the Invoice Template you would like to enable Payoneer payments for.
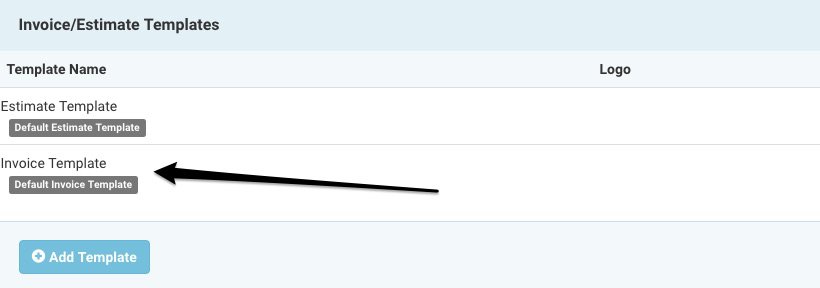
Toggle the button to enable Payoneer.
Client Experience Using Payoneer
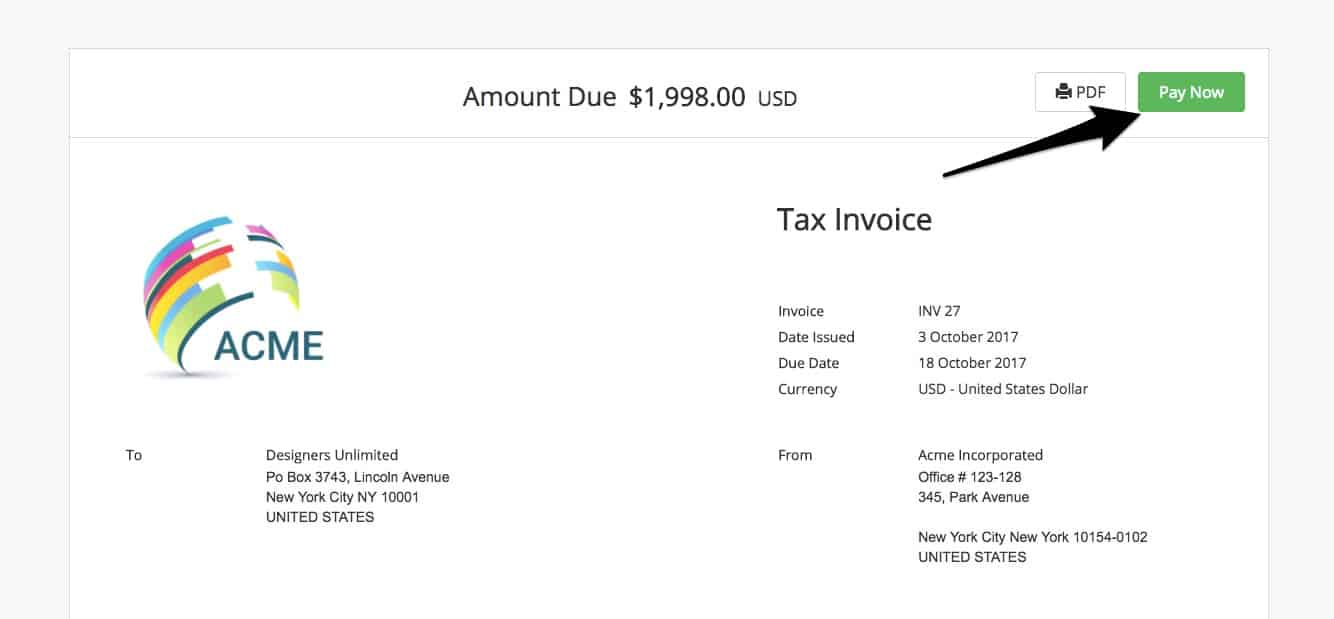
Your clients can pay your online invoice using the Pay Now button on web-view of the invoice.
The online payments popup will display Payoneer as a payment option.
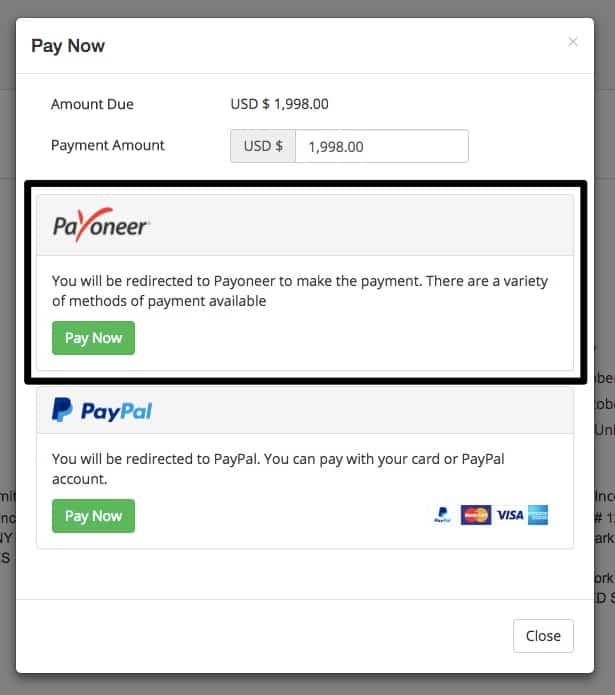
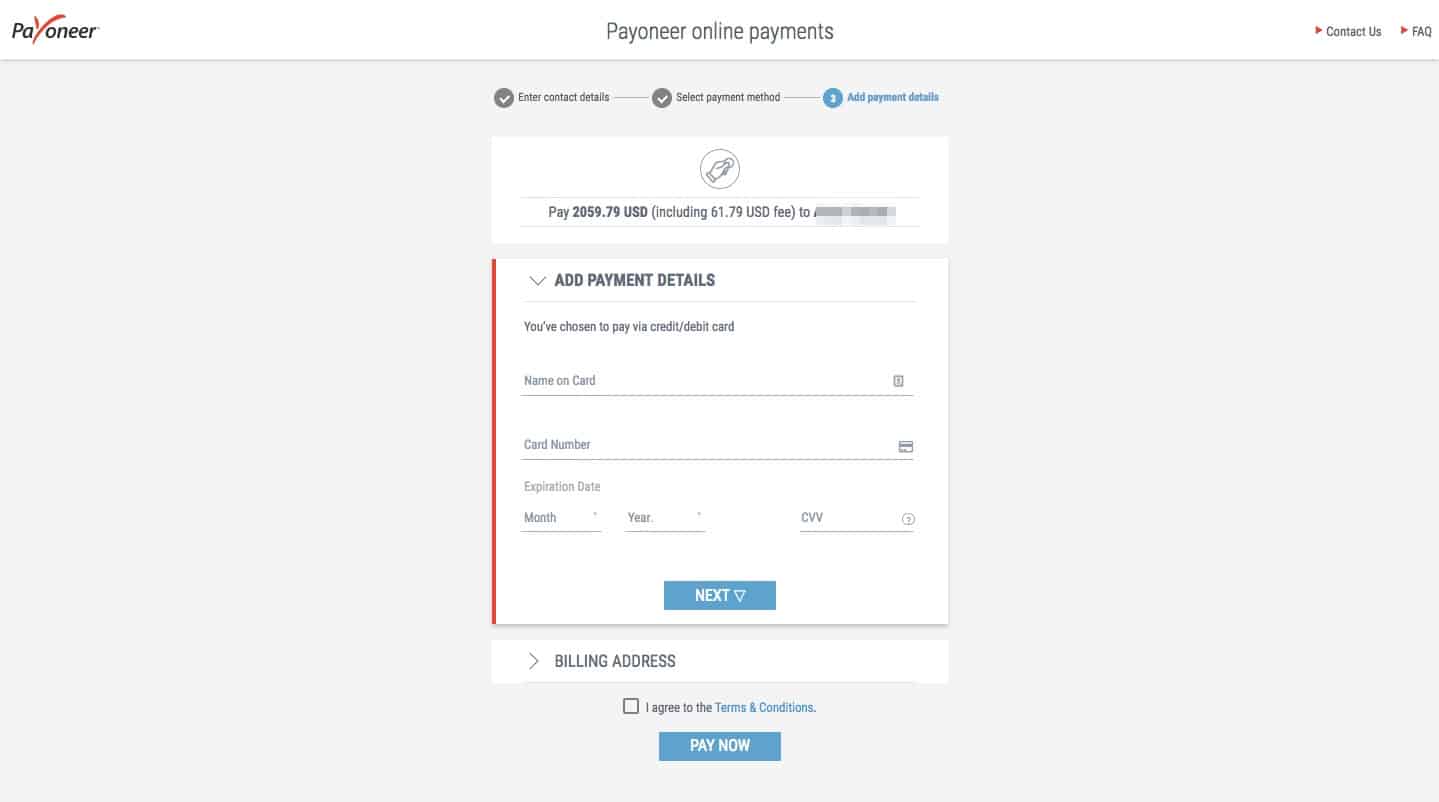
Clients will click Pay Now, and be redirected to Payoneer, where they can see more information about the payment request. After they enter some basic information, such as their name, email and phone number, they can choose to pay your invoice via eCheck (available only to individuals/companies in the US), Credit Card, Bank Transfer or via Payoneer funds.
The client chooses who pays the Payoneer processing fees when making the payment. Please discuss this with your customer prior to sending them an Invoice.
Learn more about Payoneer Processing Fees here.
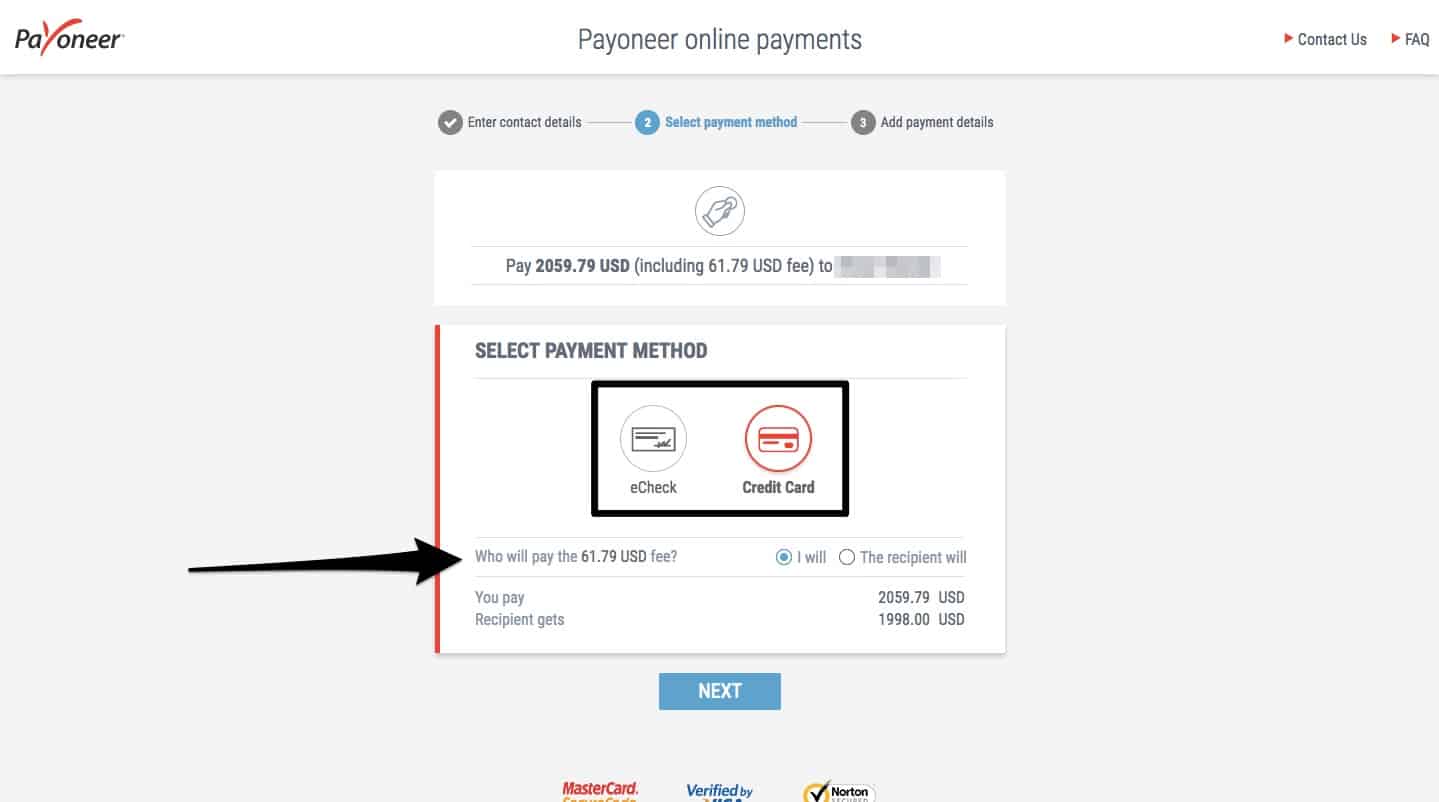
Finally, they will enter their credit card details, and click Pay Now.
Other Information
Once the payment has been made by your client, it can take a few days for the payment to appear in your Payoneer account. When the payment has cleared, you will receive an email notification from Avaza, and the payment amount will be automatically applied to the invoice.
