For professional services companies, Avaza is an ideal tool for boosting productivity – it allows for smooth management of tasks, time & expense tracking and invoicing. However, for accounting and tax needs, many companies use popular accounting software Xero. For such companies it would be awesome to streamline the experience of using both software in conjunction, by automating any required scenarios. For instance, every time an invoice is marked as sent in Avaza, it should pop up as a new invoice in Xero, to make sure all Avaza invoices are accurately and completely recorded in Xero for tax purposes.
Note: While Avaza still supports the Xero integration via Zapier, we have a more powerful option now available in-app. Read more about this here.
How it Works
Avaza utilizes Zapier, a popular cloud integration platform, to integrate with 500+ applications including Xero. You will need to have a Zapier account to connect Avaza to Xero. If you don’t have a Zapier account yet, you can sign up in no time by following this link.
Now that you have a Zapier account you can use one of the following pre-configured ‘zaps’ to get started. A ‘zap’ is a specific link between two services you’ve connected on Zapier. Our preconfigured zaps have mapped a few of the Avaza fields to Xero for your convenience, but you can change any of this mapping according to your own requirements.
Instead of using the preconfigured zaps if you wish to create the Zap from start yourself then simply follow the steps below.
- Login to Zapier and click “Make A Zap” button.
- On the next page select the source system as Avaza by searching for it.
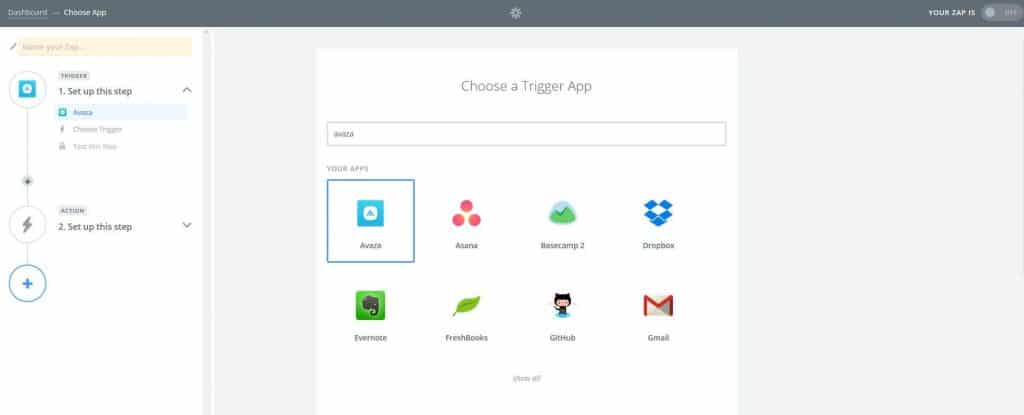
Select Avaza as the source system - Next select from one of Avaza triggers. Trigger is an event in your source system (Avaza) that will initiate the process of sending the data to destination system (Xero). Lets select the “Invoice Sent” trigger.
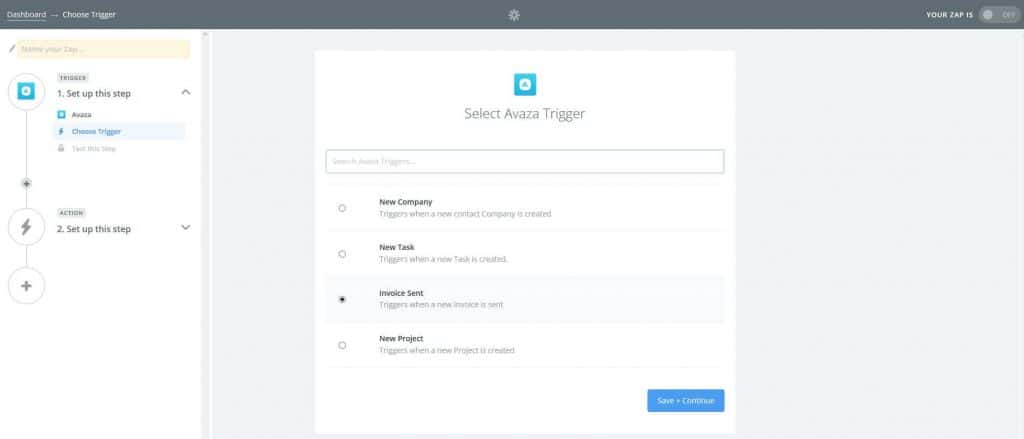
Select Invoice Sent Trigger - Next you need to connect your Avaza account to Zapier. Click the “Connect a New Account” button and “Grant access” to Zapier. Now that your Avaza account is connected, you can fetch a sample invoice by clicking the “Fetch & Continue” button.

Fetch Invoice Data - Click “Continue” to proceed to selecting the destination system (Xero).
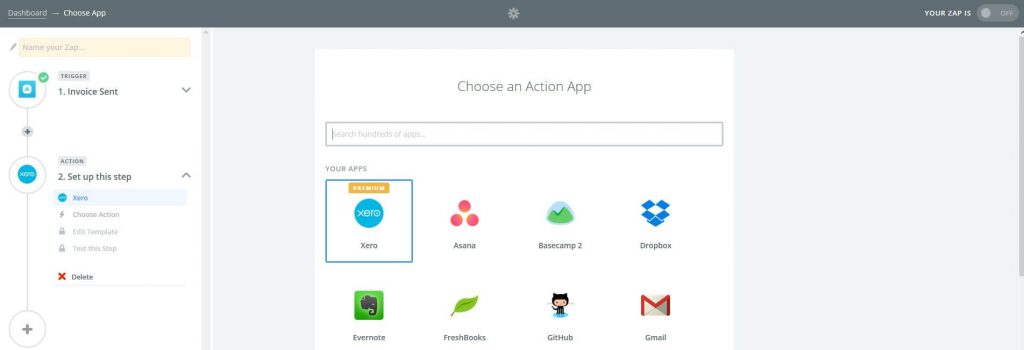
Zapier Connect Xero - You will view a list of actions Xero supports. In Zapier, ‘actions’ is how new data gets created in the destination system. As we are planning to create a new invoice in Xero, lets select “Create Sales Invoice”.
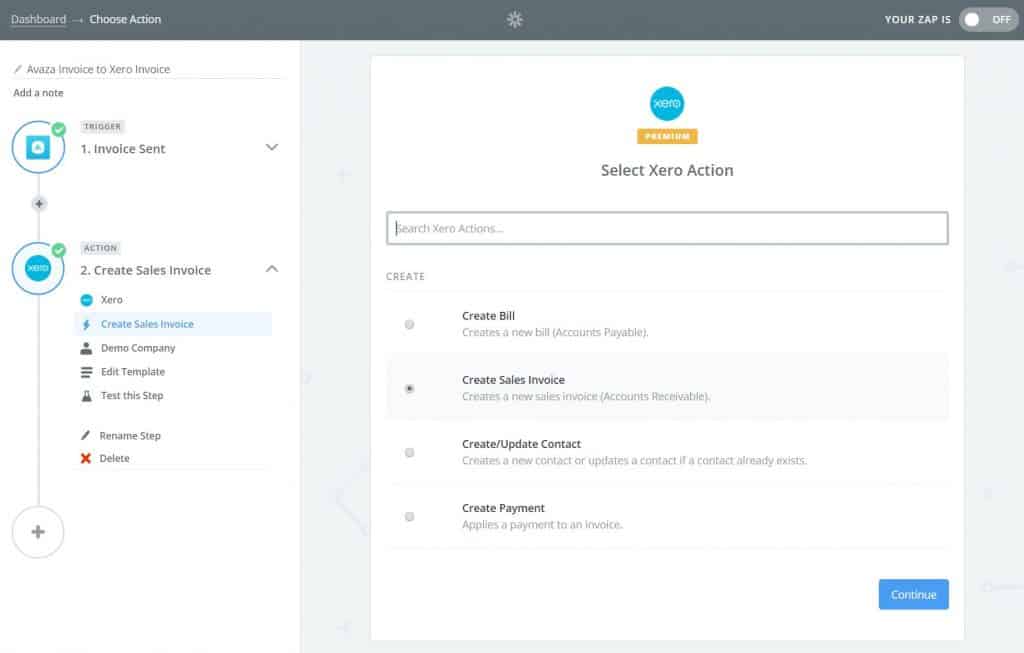
Xero Create Sales Invoice Action - Next you need to connect Zapier to your Xero account. Click Connect a New Account button and grant Zapier access to your Xero account.
- Now that you have connected your Xero account, it is time to map Xero invoice fields to Avaza fields. For each Xero field you can map one of Avaza fields by clicking the plus button or even enter a specific value you wish to use. Here are some of the mappings we suggest are a good fit between the two systems.
Xero Field Name Avaza Field Name Contact Name Company Name Date Date Issued Due Date Due Date Currency Currency Code URL Links Client View Reference Customer Ponumber Line Item Code Line Items Inventory Item Name Line Description Line Items Description Line Quantity Line Items Quantity Line Unit Price Line Items Unit Price Line Discount % Line Items Discount 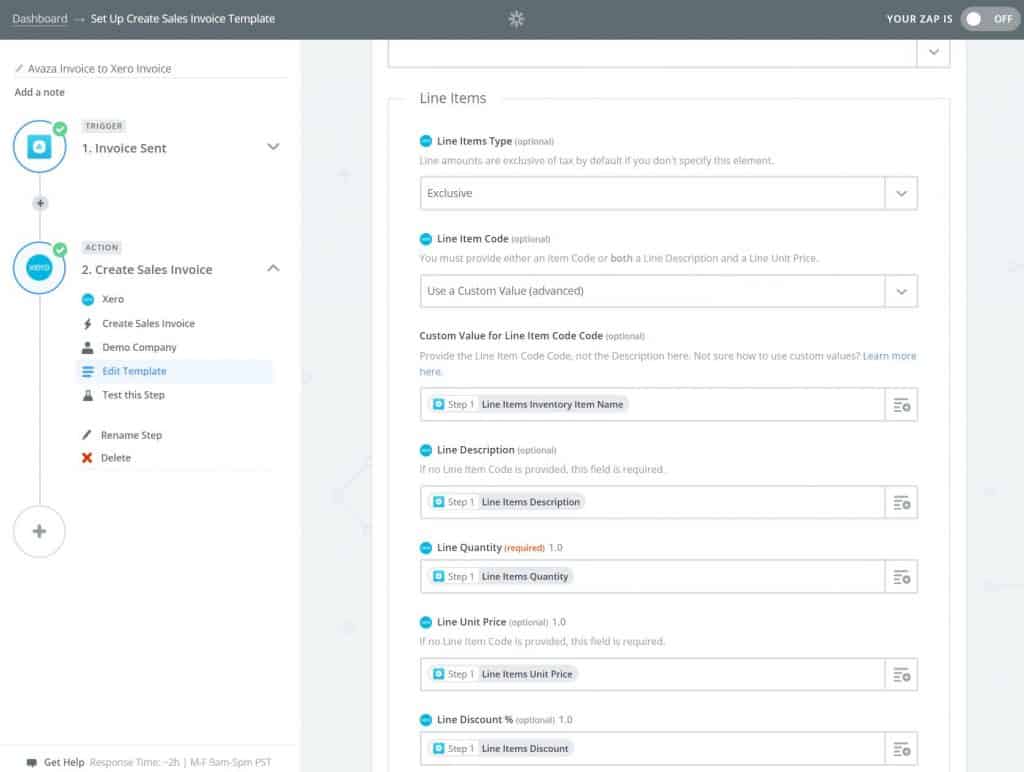
Zapier Field Mapping - You can now test the Zap by sending an Avaza invoice to Xero, name the Zap and click “Finish”.


From now on whenever you create a new invoice in Avaza it will be automatically created in Xero. The same approach can be taken to integrate any of the 500 + applications supported by Zapier with Avaza.
Wishing you all the best in zapping your way to doing better business today, with Avaza!
As always your feedback is welcomed on support@avaza.com.
1 Comment
Pingback: Taking the pain out of invoices - Enterprise Times
Comments are closed.